The Power of Visualization: 3 Reasons Creating a Dream Board Can Help You Achieve Your Goals & How to Make One
- It is super-dee-duper fun!
- It helps guide your journey
- Your progress reveals itself.
Many of my mentors have expressed to me the importance of creating a dream or vision board. I think I may start referring to mine as my “I Got This” Board. If you are not 100% sure what a dream board is, is simply this…
vi·sion board
noun
- a collage of images and words representing a person’s wishes or goals, intended to serve as inspiration or motivation.
“on her vision board, she put a log cabin, a sailboat, a red car, and a man and woman dancing on a white carpet”
- Oxford Languages Dictionary
“Vision boards – are a visual reminder of your intentions and shape your thoughts and actions. Vision boards give you a clear direction for where you want to go in several areas of your life. They allow you to visualize what goals you want to achieve.”
- Betterup.com
There are many different types and ways to create your vision board. I will go into this later, but let’s discuss the 3 reasons first.
1. It is super-dee-duper fun!
I love creative outlets, and what better way to create than to make a collage of my wishes and goals that will inevitably inspire me and motivate me to succeed? I like to use images from magazines, stickers, quotes, words, pictures, and anything fun that I can find, and make something that I am proud of that will help me achieve my dreams. So crank up your favorite jams and create.
Another church perk is our church makes fun inspirational videos that help with whatever challenges we may be facing. So if you are saying to yourself right this very minute that you do not have a creative bone in your body, that this activity will not be super-dee-duper fun for you, and why even bother, I beg of you to take 1 minute and 54 seconds out of your day and watch one of my favorite churchy videos.
2. It helps guide your journey.
One important rule when creating your vision board masterpiece is to make sure you put that baby in a place where you see it often, every day preferably. This reminds you of the potential you knew you wanted to achieve and helps you evaluate where you are and what steps you need to take to make those dreams a reality.
Here is one I created many years ago…
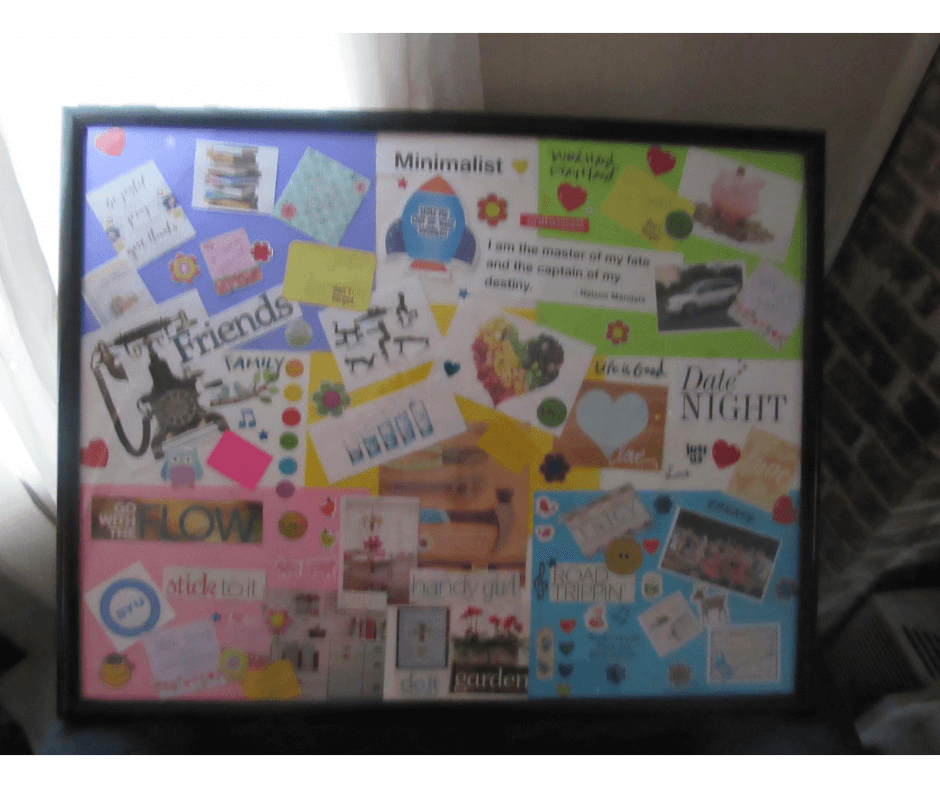
It kinda took a beating because well honestly the last chapter of my life was extremely challenging, and I don’t think my move helped it any either, but I can still see those goals, dreams, visions, or in essence those things I wanted to achieve, and guess what the GOOD NEWS is I achieved them.
This leads me to
#3. Your progress reveals itself.
One day you will look at your board and all those things that you felt were way out of your reach, so high out of your reach even if you climbed up the biggest step stool, you felt you would never be able to reach, no matter how hard you stretched. Then you blink, maybe a couple of hundred times, and then you realize you did it, everything you had wished to achieve you did. Yay, you! Then you can make a new one and continue this fabulously fun, and essential process all over because if you don’t know where you are going it’s hard to get there and even more difficult to know if you have arrived. So far I have covered a lot of the why, now the fun part is the how.
I have started a DREAM BOARD board on Pinterest to stash my dream board inspiration.
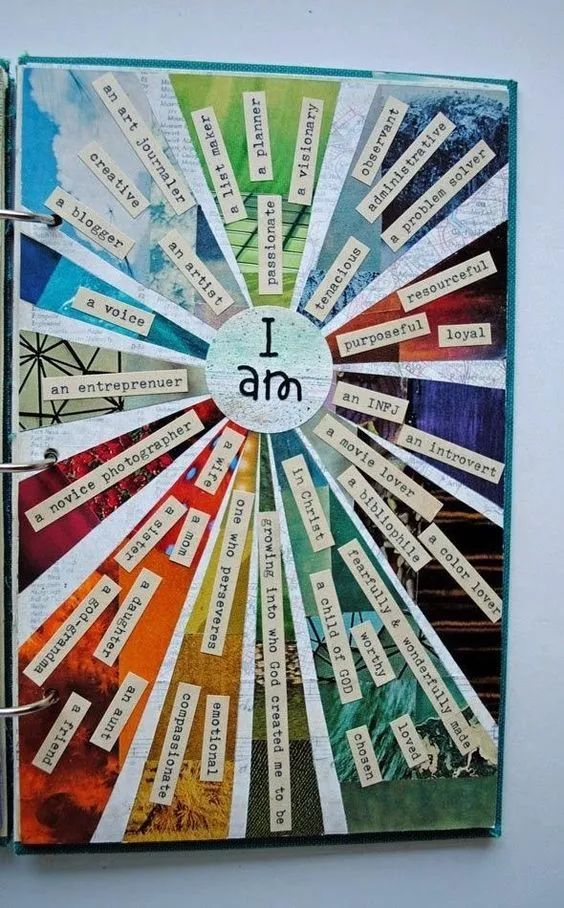
Above image courtsey of Developing Good Habits post 41 Vision Board IDEAS & Examples [Updated for 2023]
STEP #1 Decide
First, decide how you would like to create your vision board. Do you want an
- online one
- one in a journal or sketchbook
- a wall
- or maybe a bulletin board or poster?
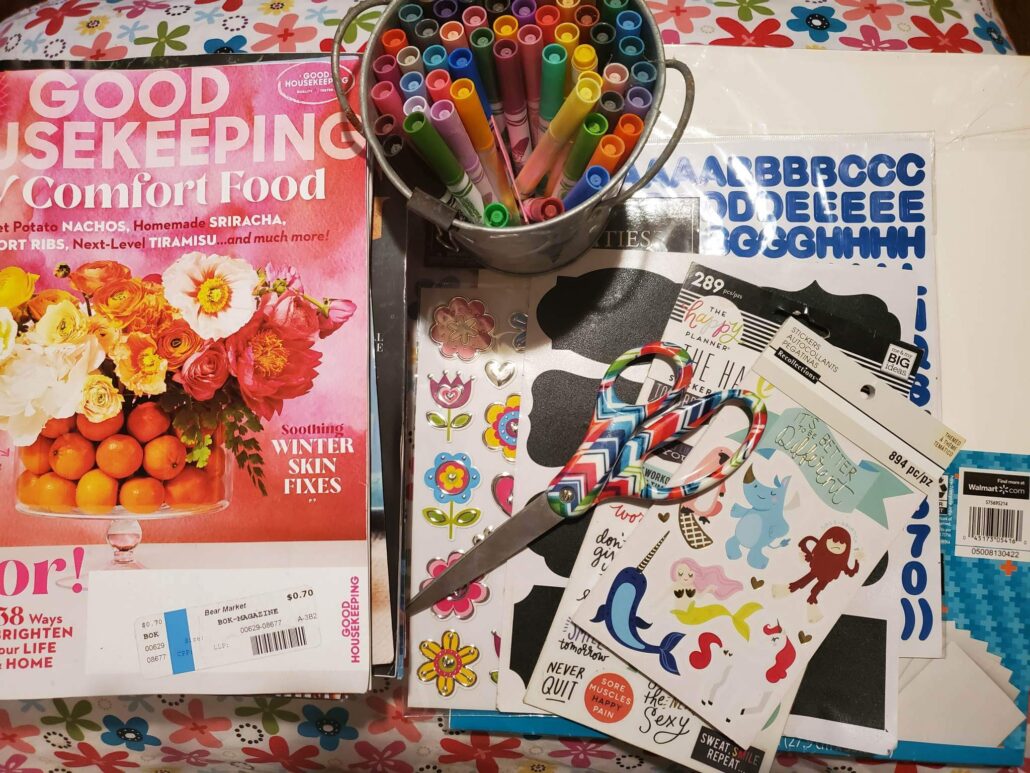
Step #2 Gather
Then gather your supplies. I like to use
- Poster board
- Colored and fun papers
- Scrapbook Paper
- Stickers
- Markers
- Old magazines
- Pictures
- Goodie I have printed
- Quotes
- Motivations
- Anything that inspires
- And if I can I like to frame mine, to protect it from the elements.
* side note – it was not as easy to find old magazines this time I found mine at the library, and thrift stores, I asked friends, and even posted it on a local church Facebook group – if you are having a hard time finding them call business, and ask everyone
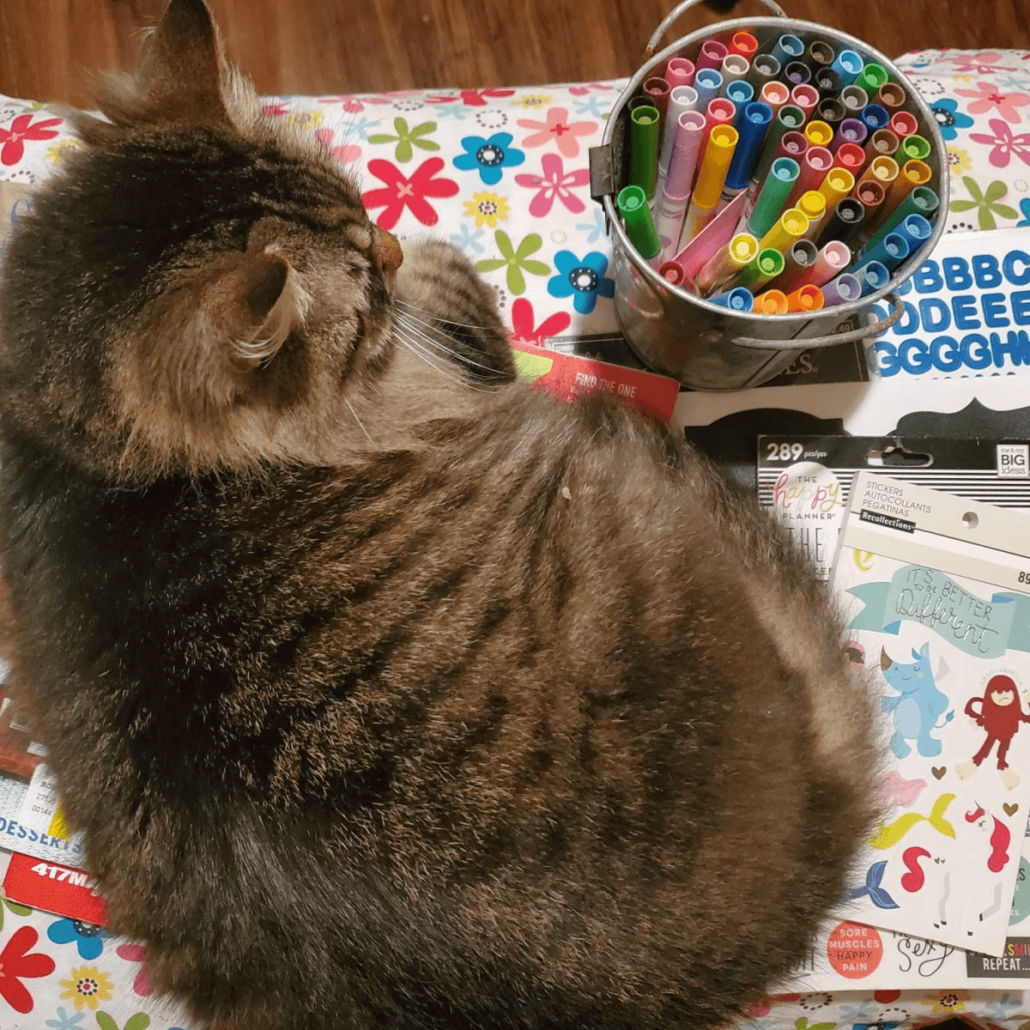
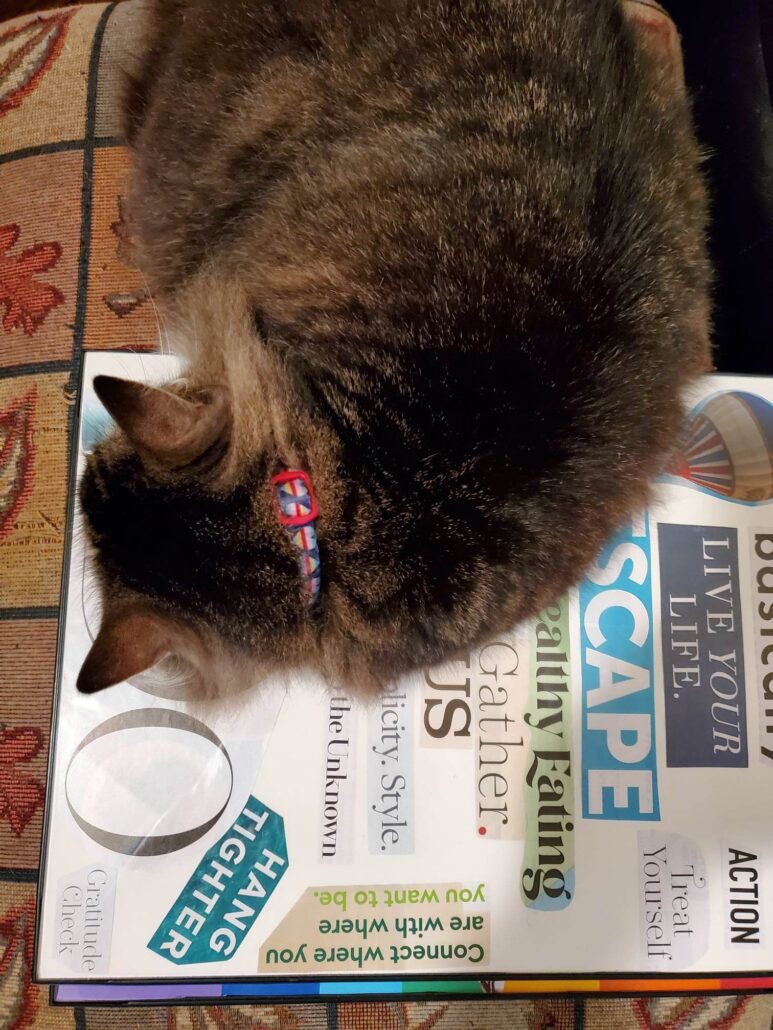
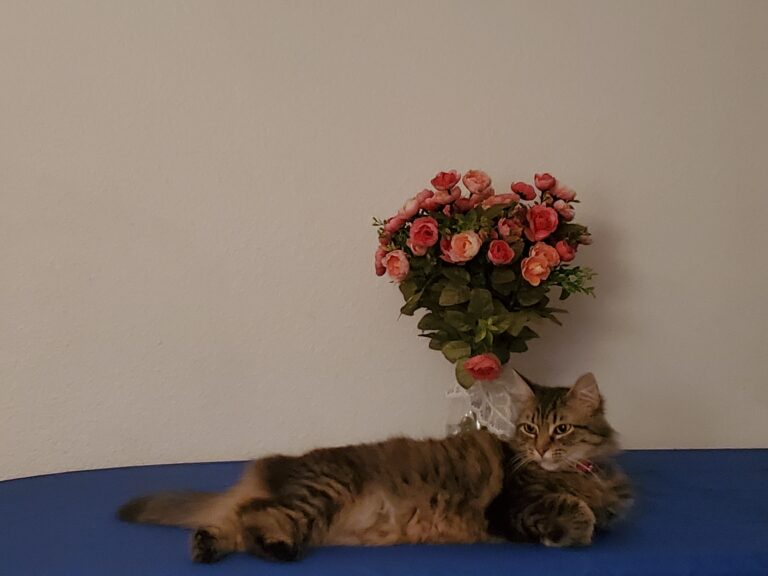
Here is my helper Remy.
After I gathered all my supplies, I started going through the magazines and looking for those images and words that stood out to me and cut them out. I absolutely love looking at magazines!
Here is my stash of goodies.
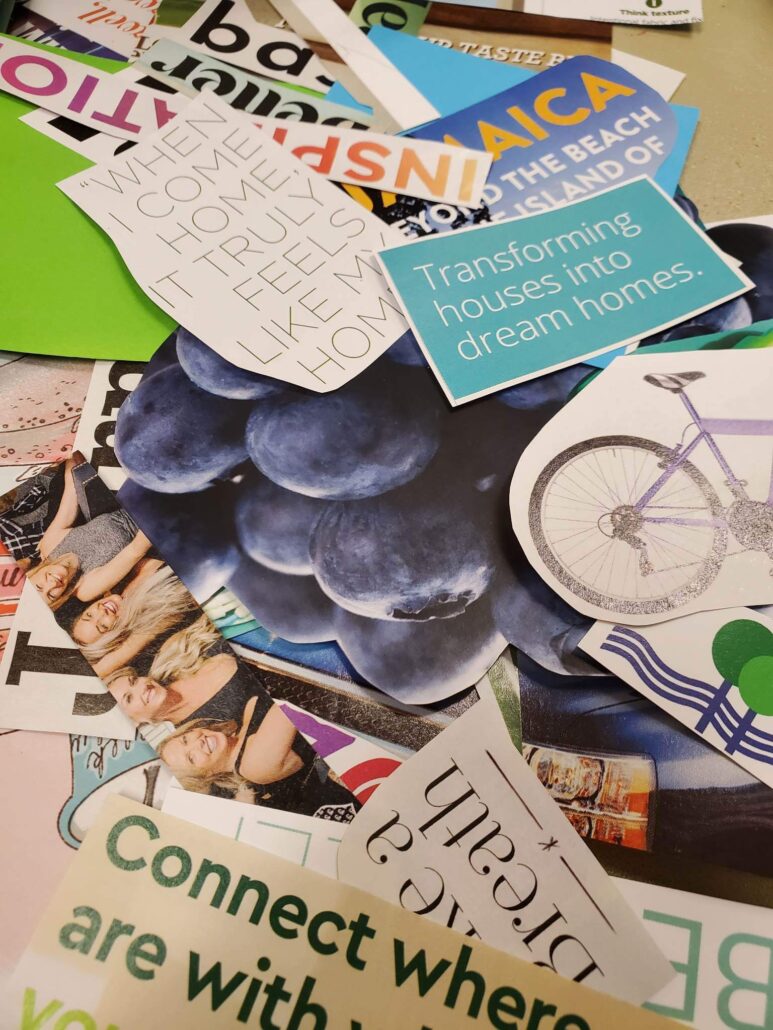
Once I knew what I had to work with I began to create my board.
My #1 TIP is to take your time!
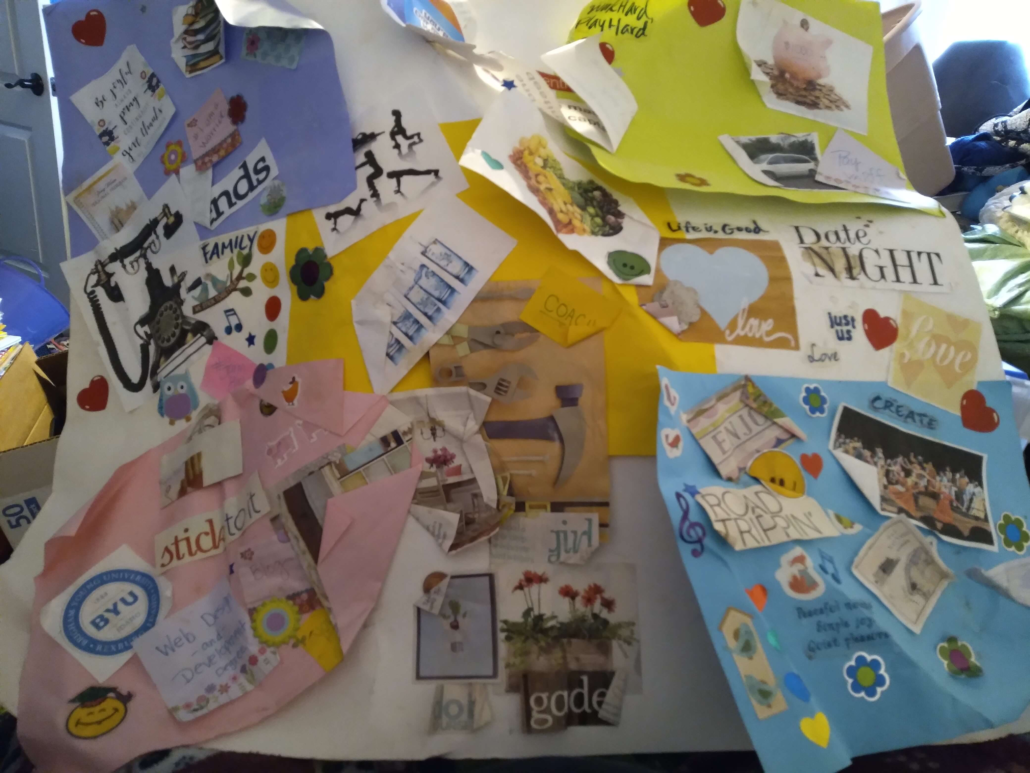
Do not rush, if it is not working it is okay to set it aside and come back to it. This is so important, you want a board that you LOVE! I had so many things I wanted to incorporate I ended up making two. This go-around it was also important for me to keep it simple.
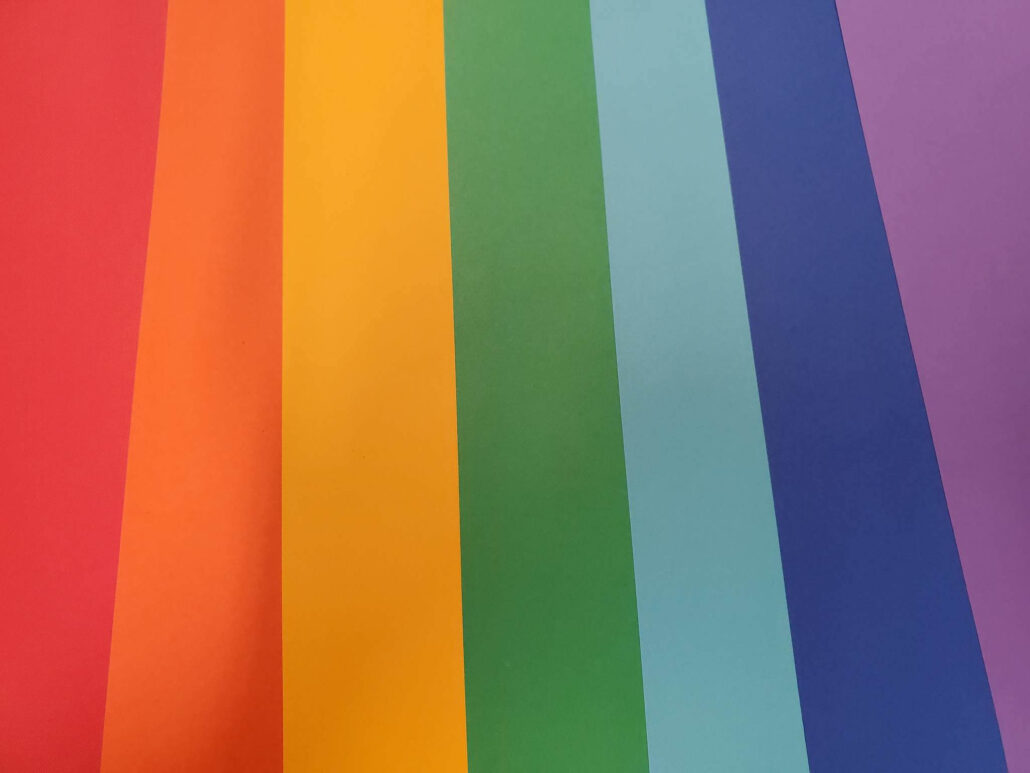
STEP #3 LAYOUT
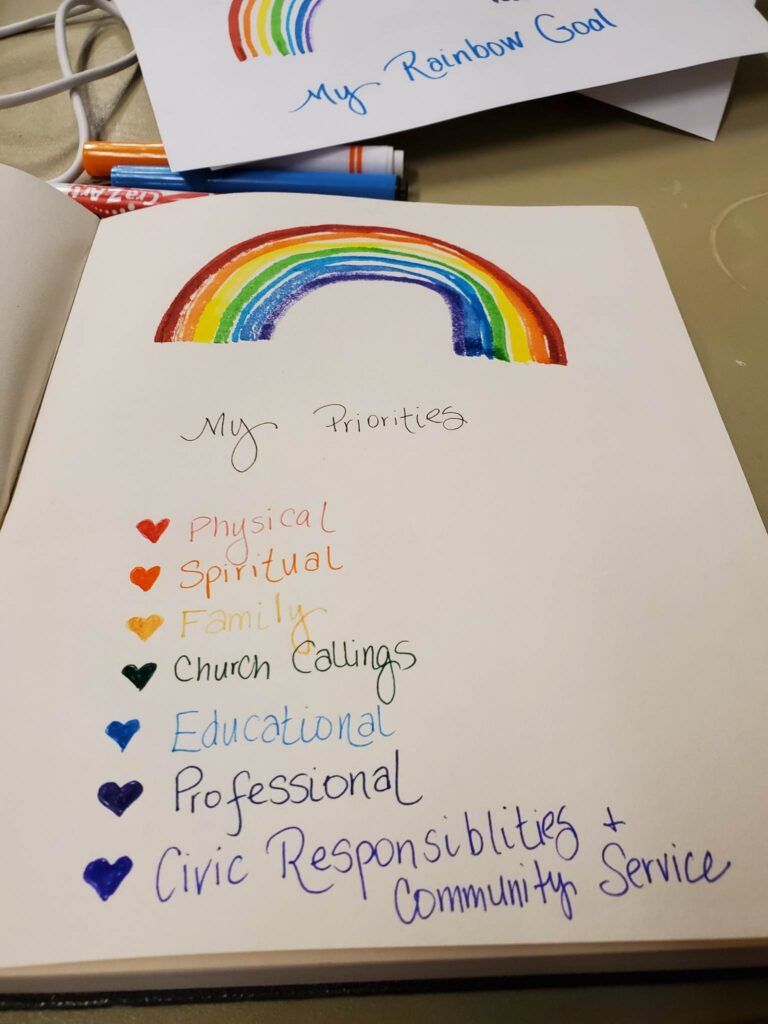
I knew that I wanted the rainbow somewhere in my board so I made it the foundation. Play around with all your goodies, before you commit.
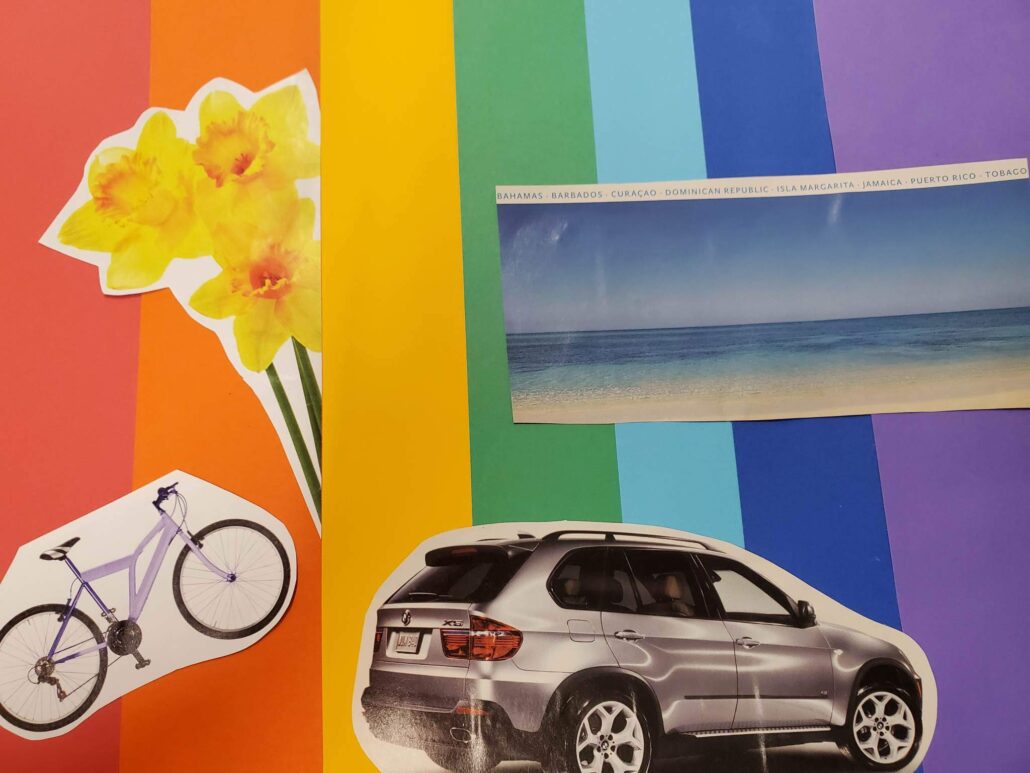
I played around with everything and got a basic idea of how I wanted to design my dreams.
Once I have a general idea, then comes the fun part, (actually I think all the parts are fun) the actual creating.
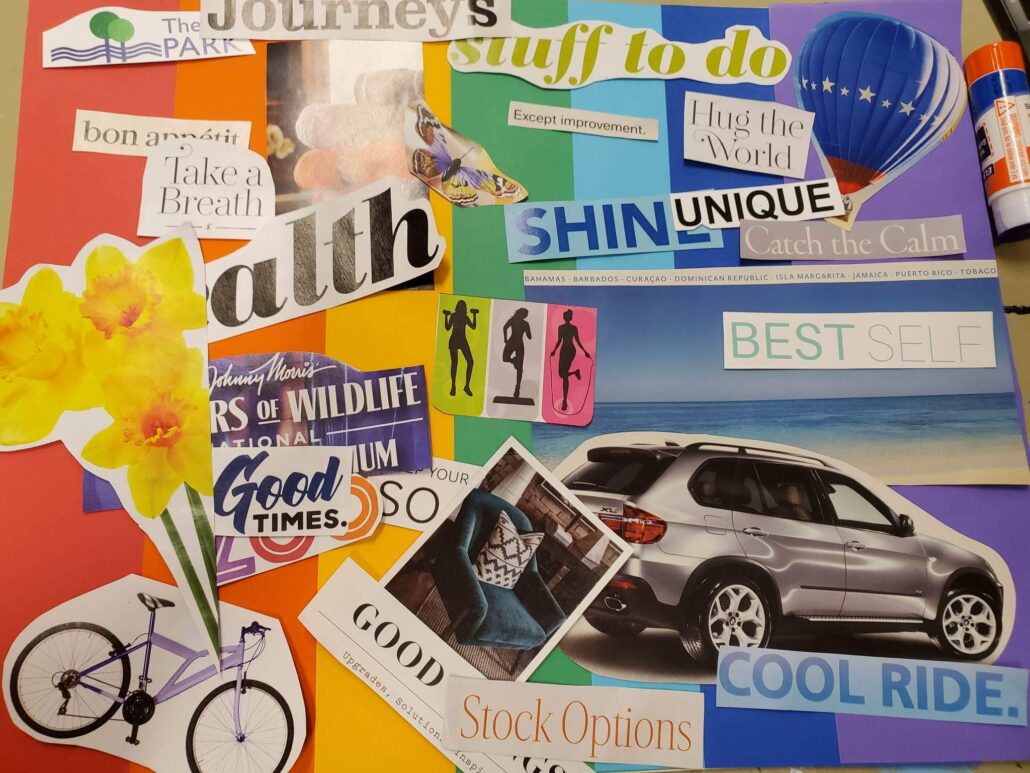
STEP #4 Create
Start with your big objects first and layer up. I took a picture of my layout to refer back too, but I confess I did not refer to it, and my hot air balloon went MIA and I forgot about it and when I found it it was quite tricky to add back in. 🤪
I just use a glue stick, it usually makes it super easy to take off if I need to replace it in another location.
Side note these are representations of my dreams, I know my KIA won’t last forever, do I think I will replace it with a Beamer, no probably not, it however represents the cool new ride I will one day have.
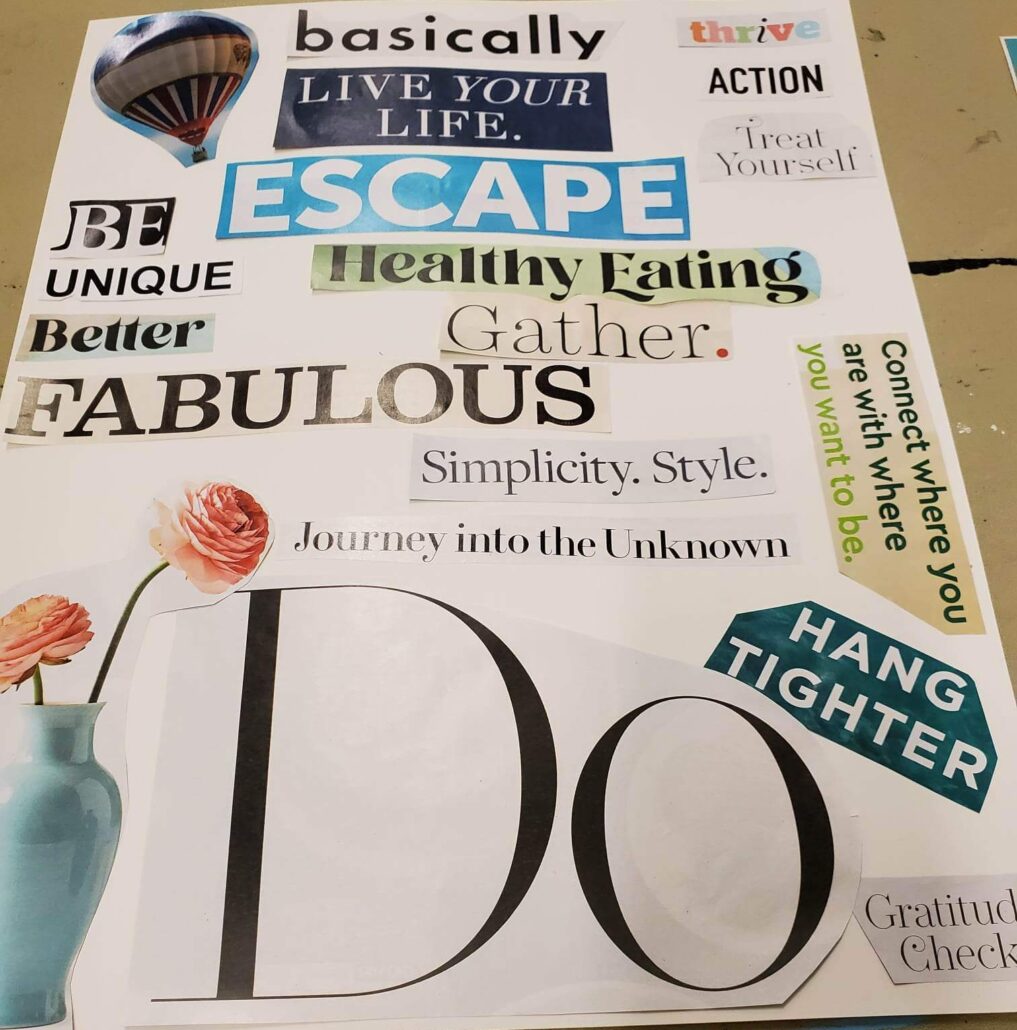
Here is the second one I made, I had so much fun I did two.
my last step is….
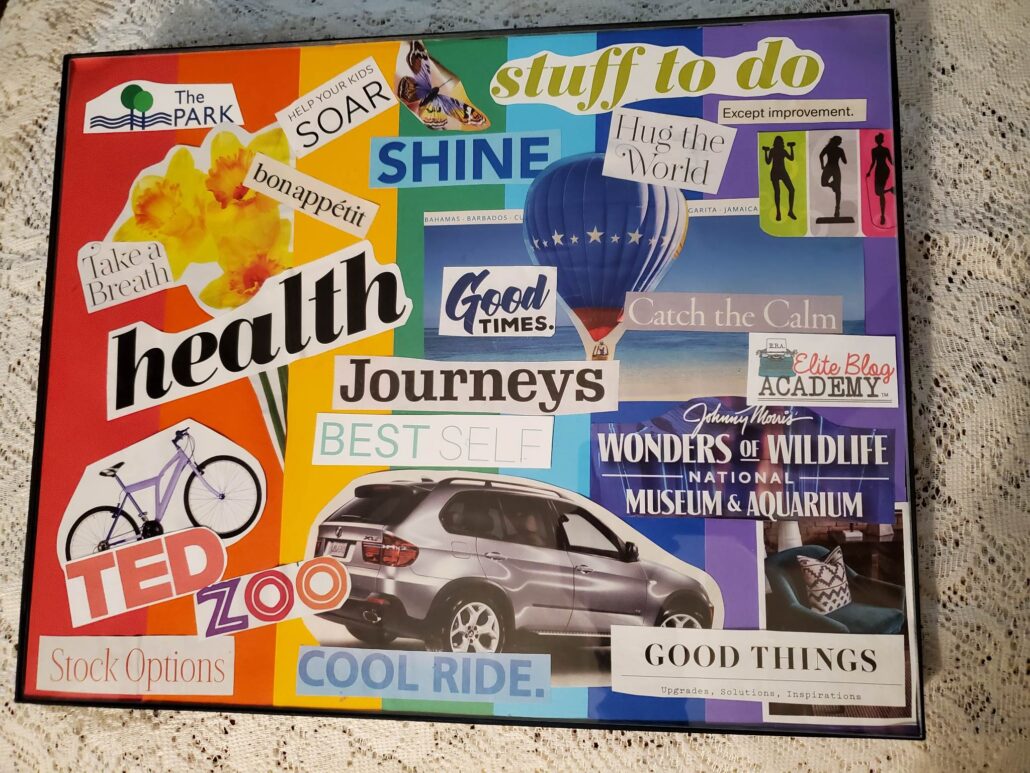
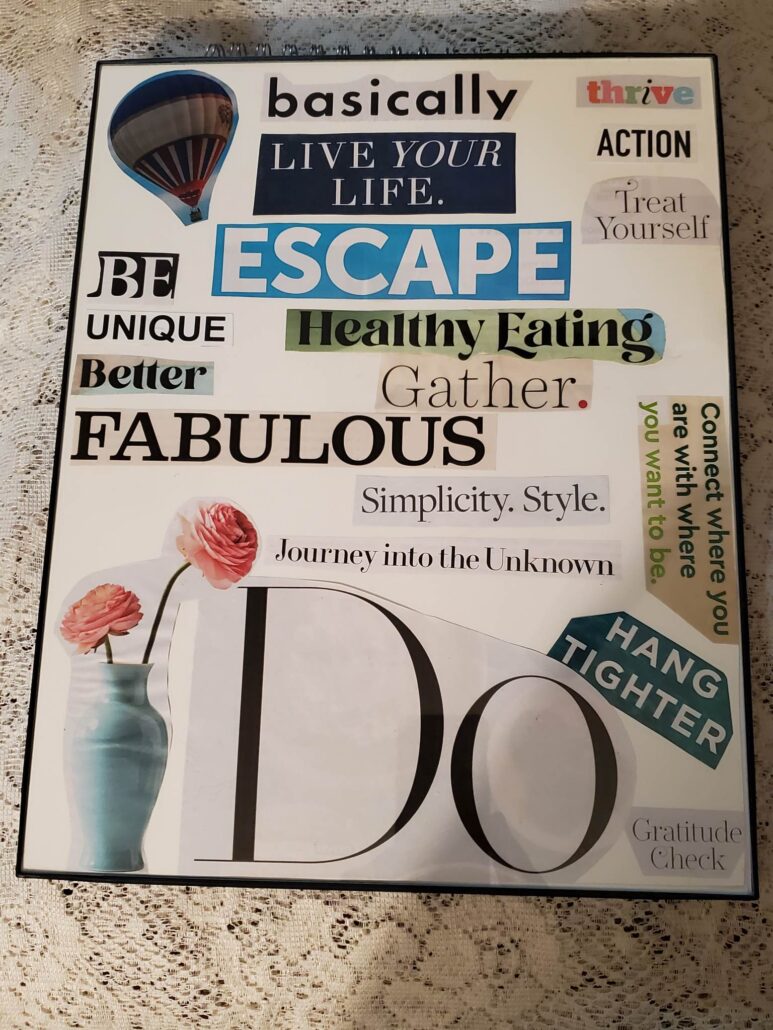
STEP #5 FRAME
I like to frame mine, to help preserve all that hard work. I found these frames at Walmart for $3.64 each!

WAA LAA, there you go, super-dee-duper fun, easy, inexpensive, and game-changing.
Here are my final Dream Boards Framed –
Remy approves.
One last thing, a simple reminder to not rush, be inspired, and have FUN.
I would love for you to share your masterpieces in the comments or on my socials or anywhere!
You got this!
❤️ Erin Mollie
Hello budgetingbelle80.blogspot.com! I just shared your super cute easter basket post today on my Facebook Page!! I love doing dream boards and lists and anything that will help me be a better me. It is so cool that you said this because the next post I have been working on is in more of a list format! I am excited that you popped in for a visit here at makinglifelovely.com and that you like dreamboards and lists and things to reach your dreams!! ❤️
Oh, mummyconqueringanxiety.com you should make one. It is so much fun to get those creative juices flowing, and visualize your dreams for your future!! I would love to see yours when you finish. I love to visualize things too but am always amazed when I don’t even really seem like I am focusing on them, they happen anyway! Good luck and thank you so much for stopping by makinglifelovely.com ❤️
I really want to make a dream board. Sometimes visualising something on paper can really bring it to life.
Dream boards are very inspiring and help a person to visualize their goals. I know some people write their goals down and accomplish them as well.